Rendering With Karma, MaterialX, and Solaris with Houdini – Lesson Two
Rendering With Karma MaterialX and Solaris with Houdini – Lesson Two
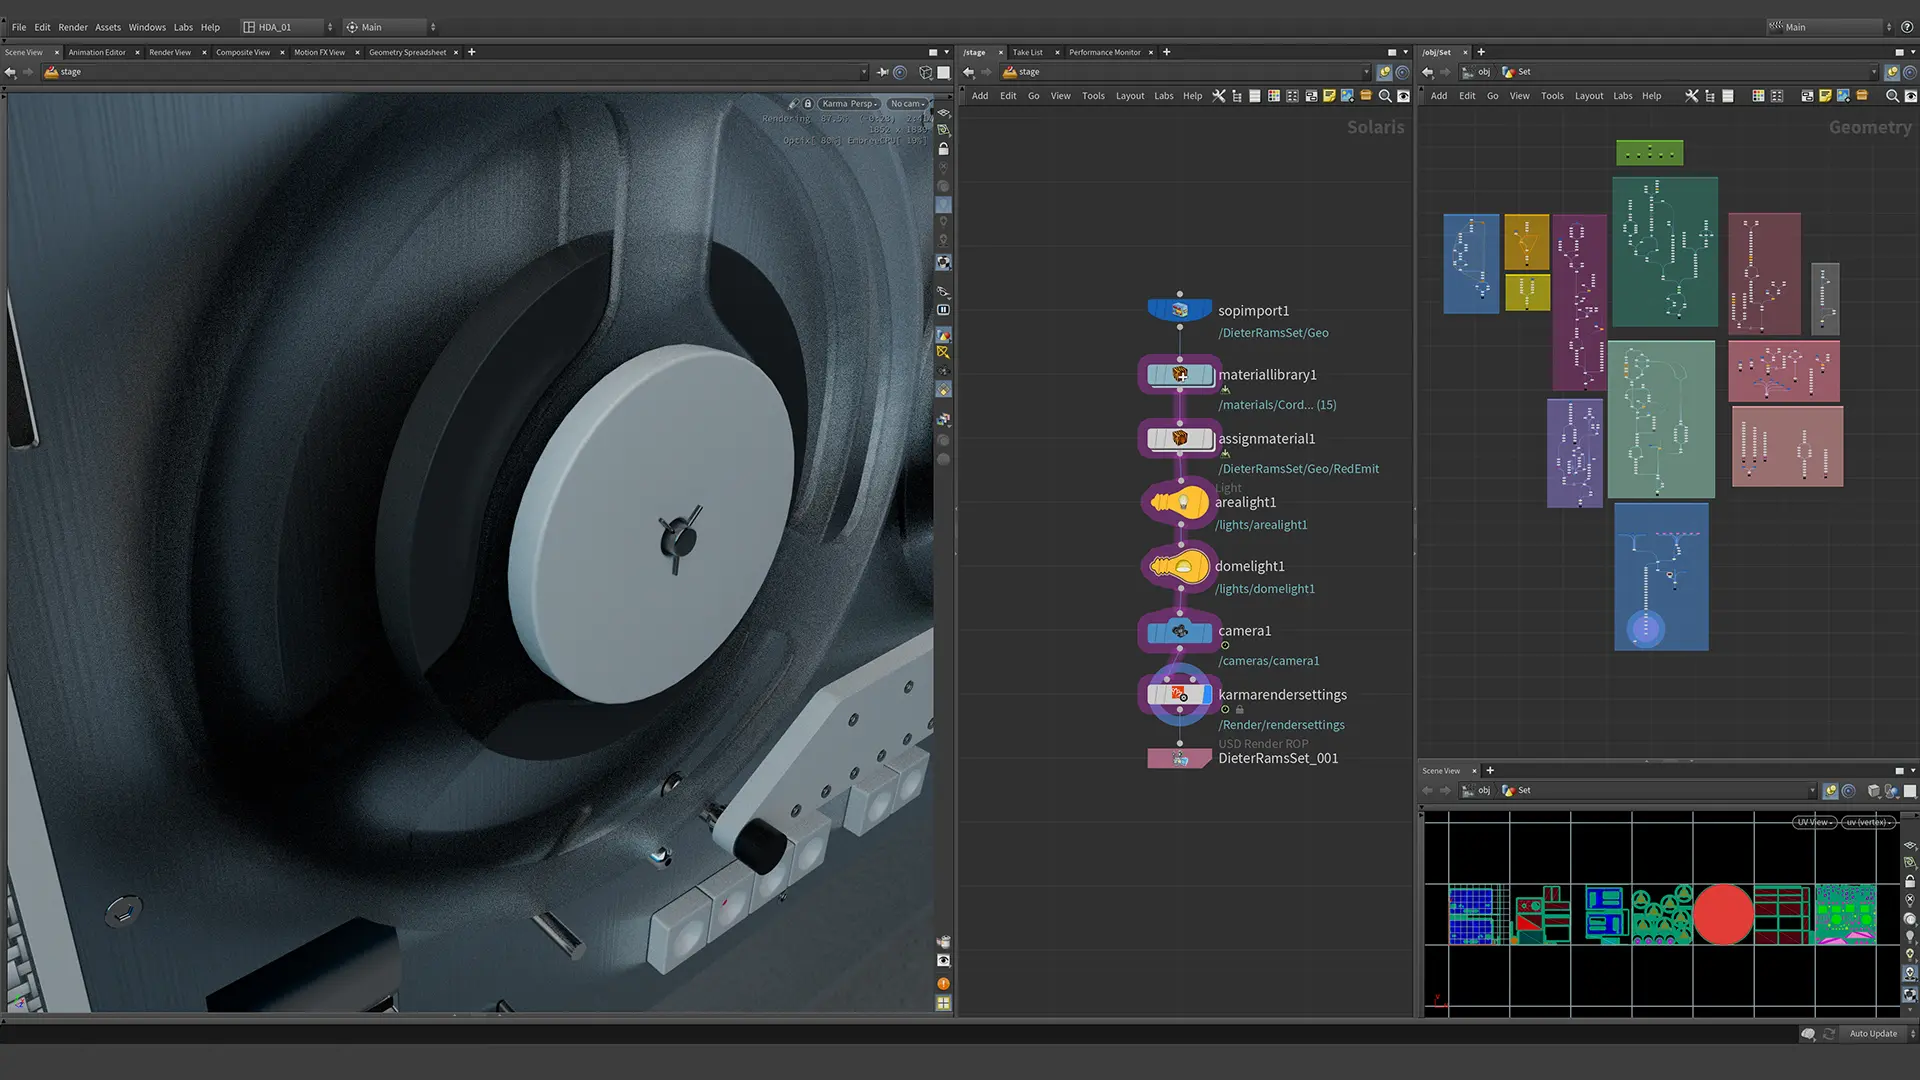
In lesson two we further enhance our materials. We concentrate on brushed metal and rough transparency. To create the brushed metal look we take our first look at noise in MaterialX. We show how we can use a Position node combined with a multiply to alter the appearance. We then learn how to apply texture maps. After applying our textures, we further refine our lighting set-up. We look at creating cinematic camera effects like Depth of Field.
Explore Other Houdini Tutorials
Rendering In Solaris
Lesson One
In lesson one we learn how to import our scene into Solaris. Learn how we can use the Name Attribute to partition our geometry. Create materials using MaterialX, and the Standard PBR Surface. We then assign our materials and add area lights to create a basic lighting set-up. We then set up a camera and look at Depth of Field.
Houdini Landscapes for Unreal Engine
Lesson One
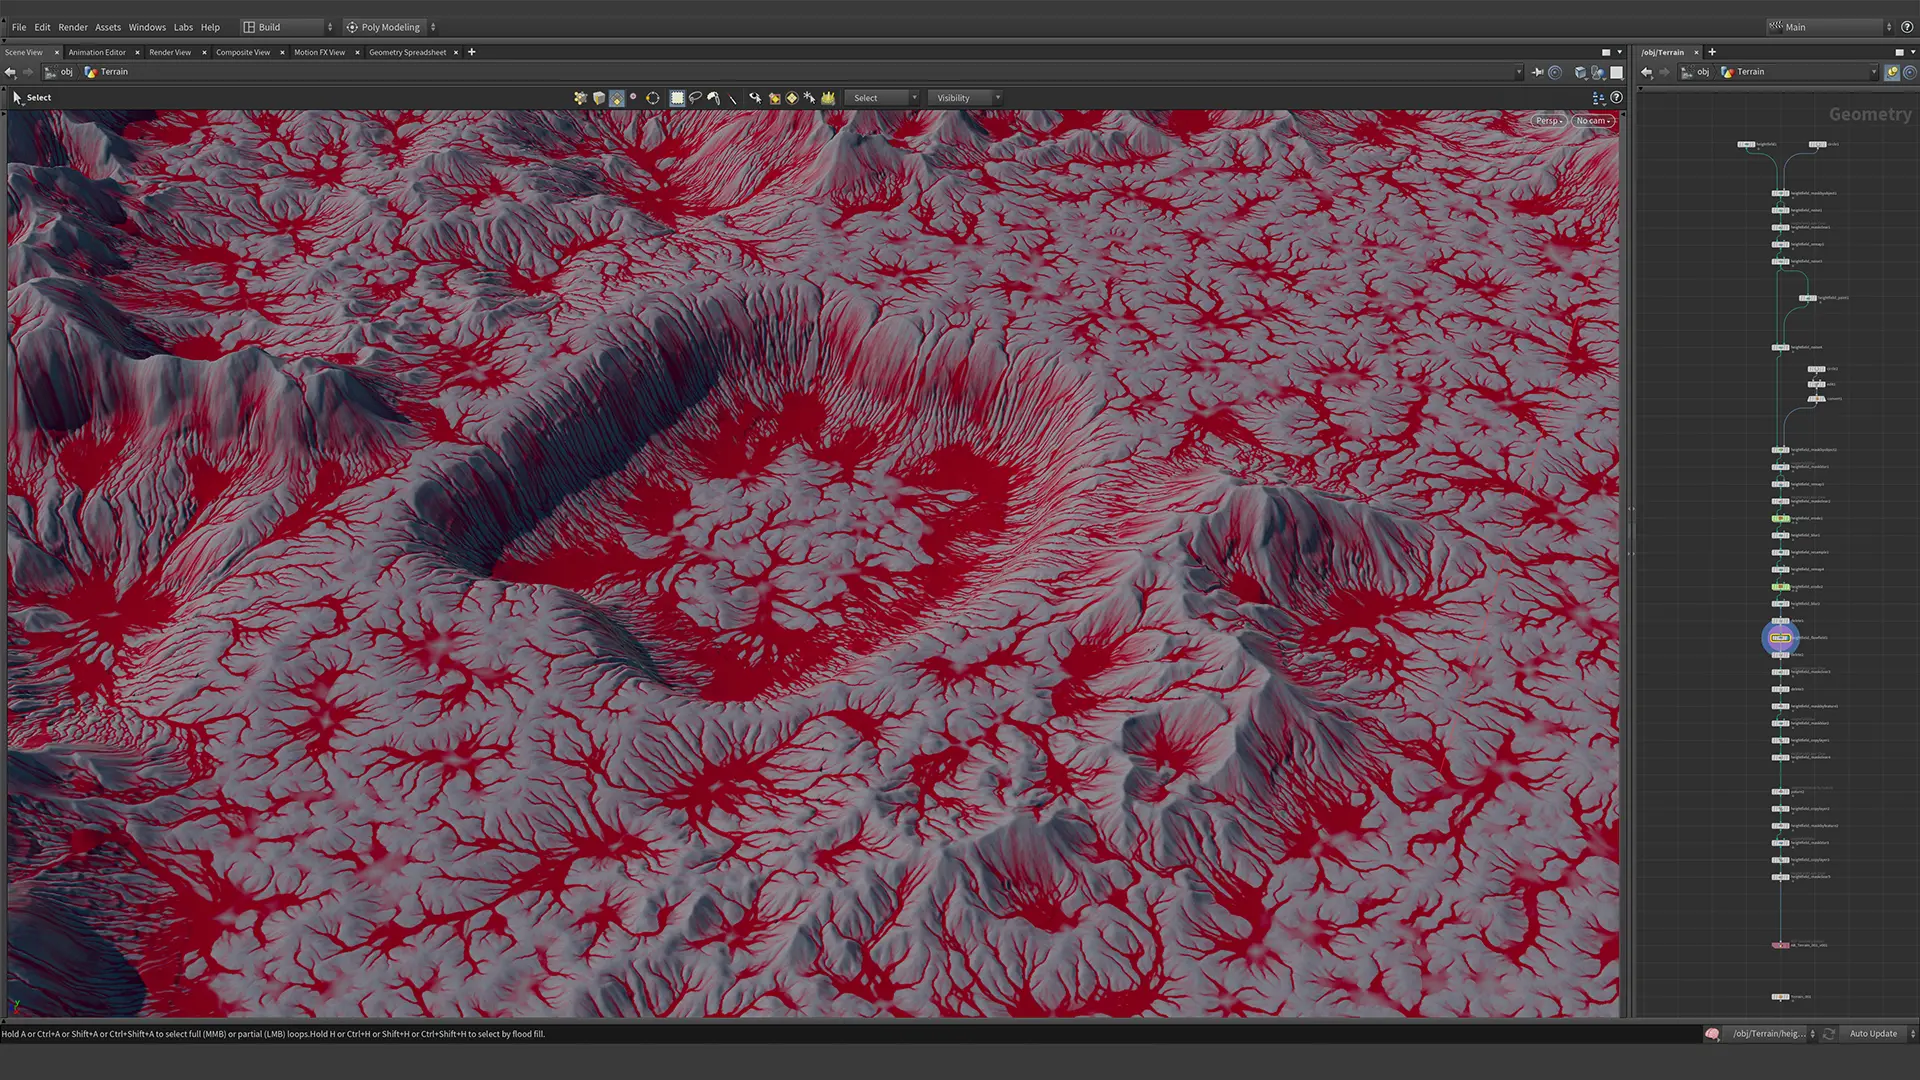
In lesson one we learn how to correctly size our landscapes for Unreal Engine or Unity. We learn how to use geometry as a mask for customizing your landscapes. Then we get an overview of use nodes like Heightfield Erode, Heightfield Mask by Feature, Heightfield Flow, and others. We learn how to customize our landscape layers with masks. We cover creating a procedural pipeline, and how to create a Houdini Digital Asset.


