Master Procedural 3D Modeling In Houdini
This course will teach you how to create a Houdini Digital Asset for building procedural billboards
Start Learning TodayMaster Procedural 3D Modeling In Houdini
Learn Simple Hacks For Procedural 3D Modeling In Houdini
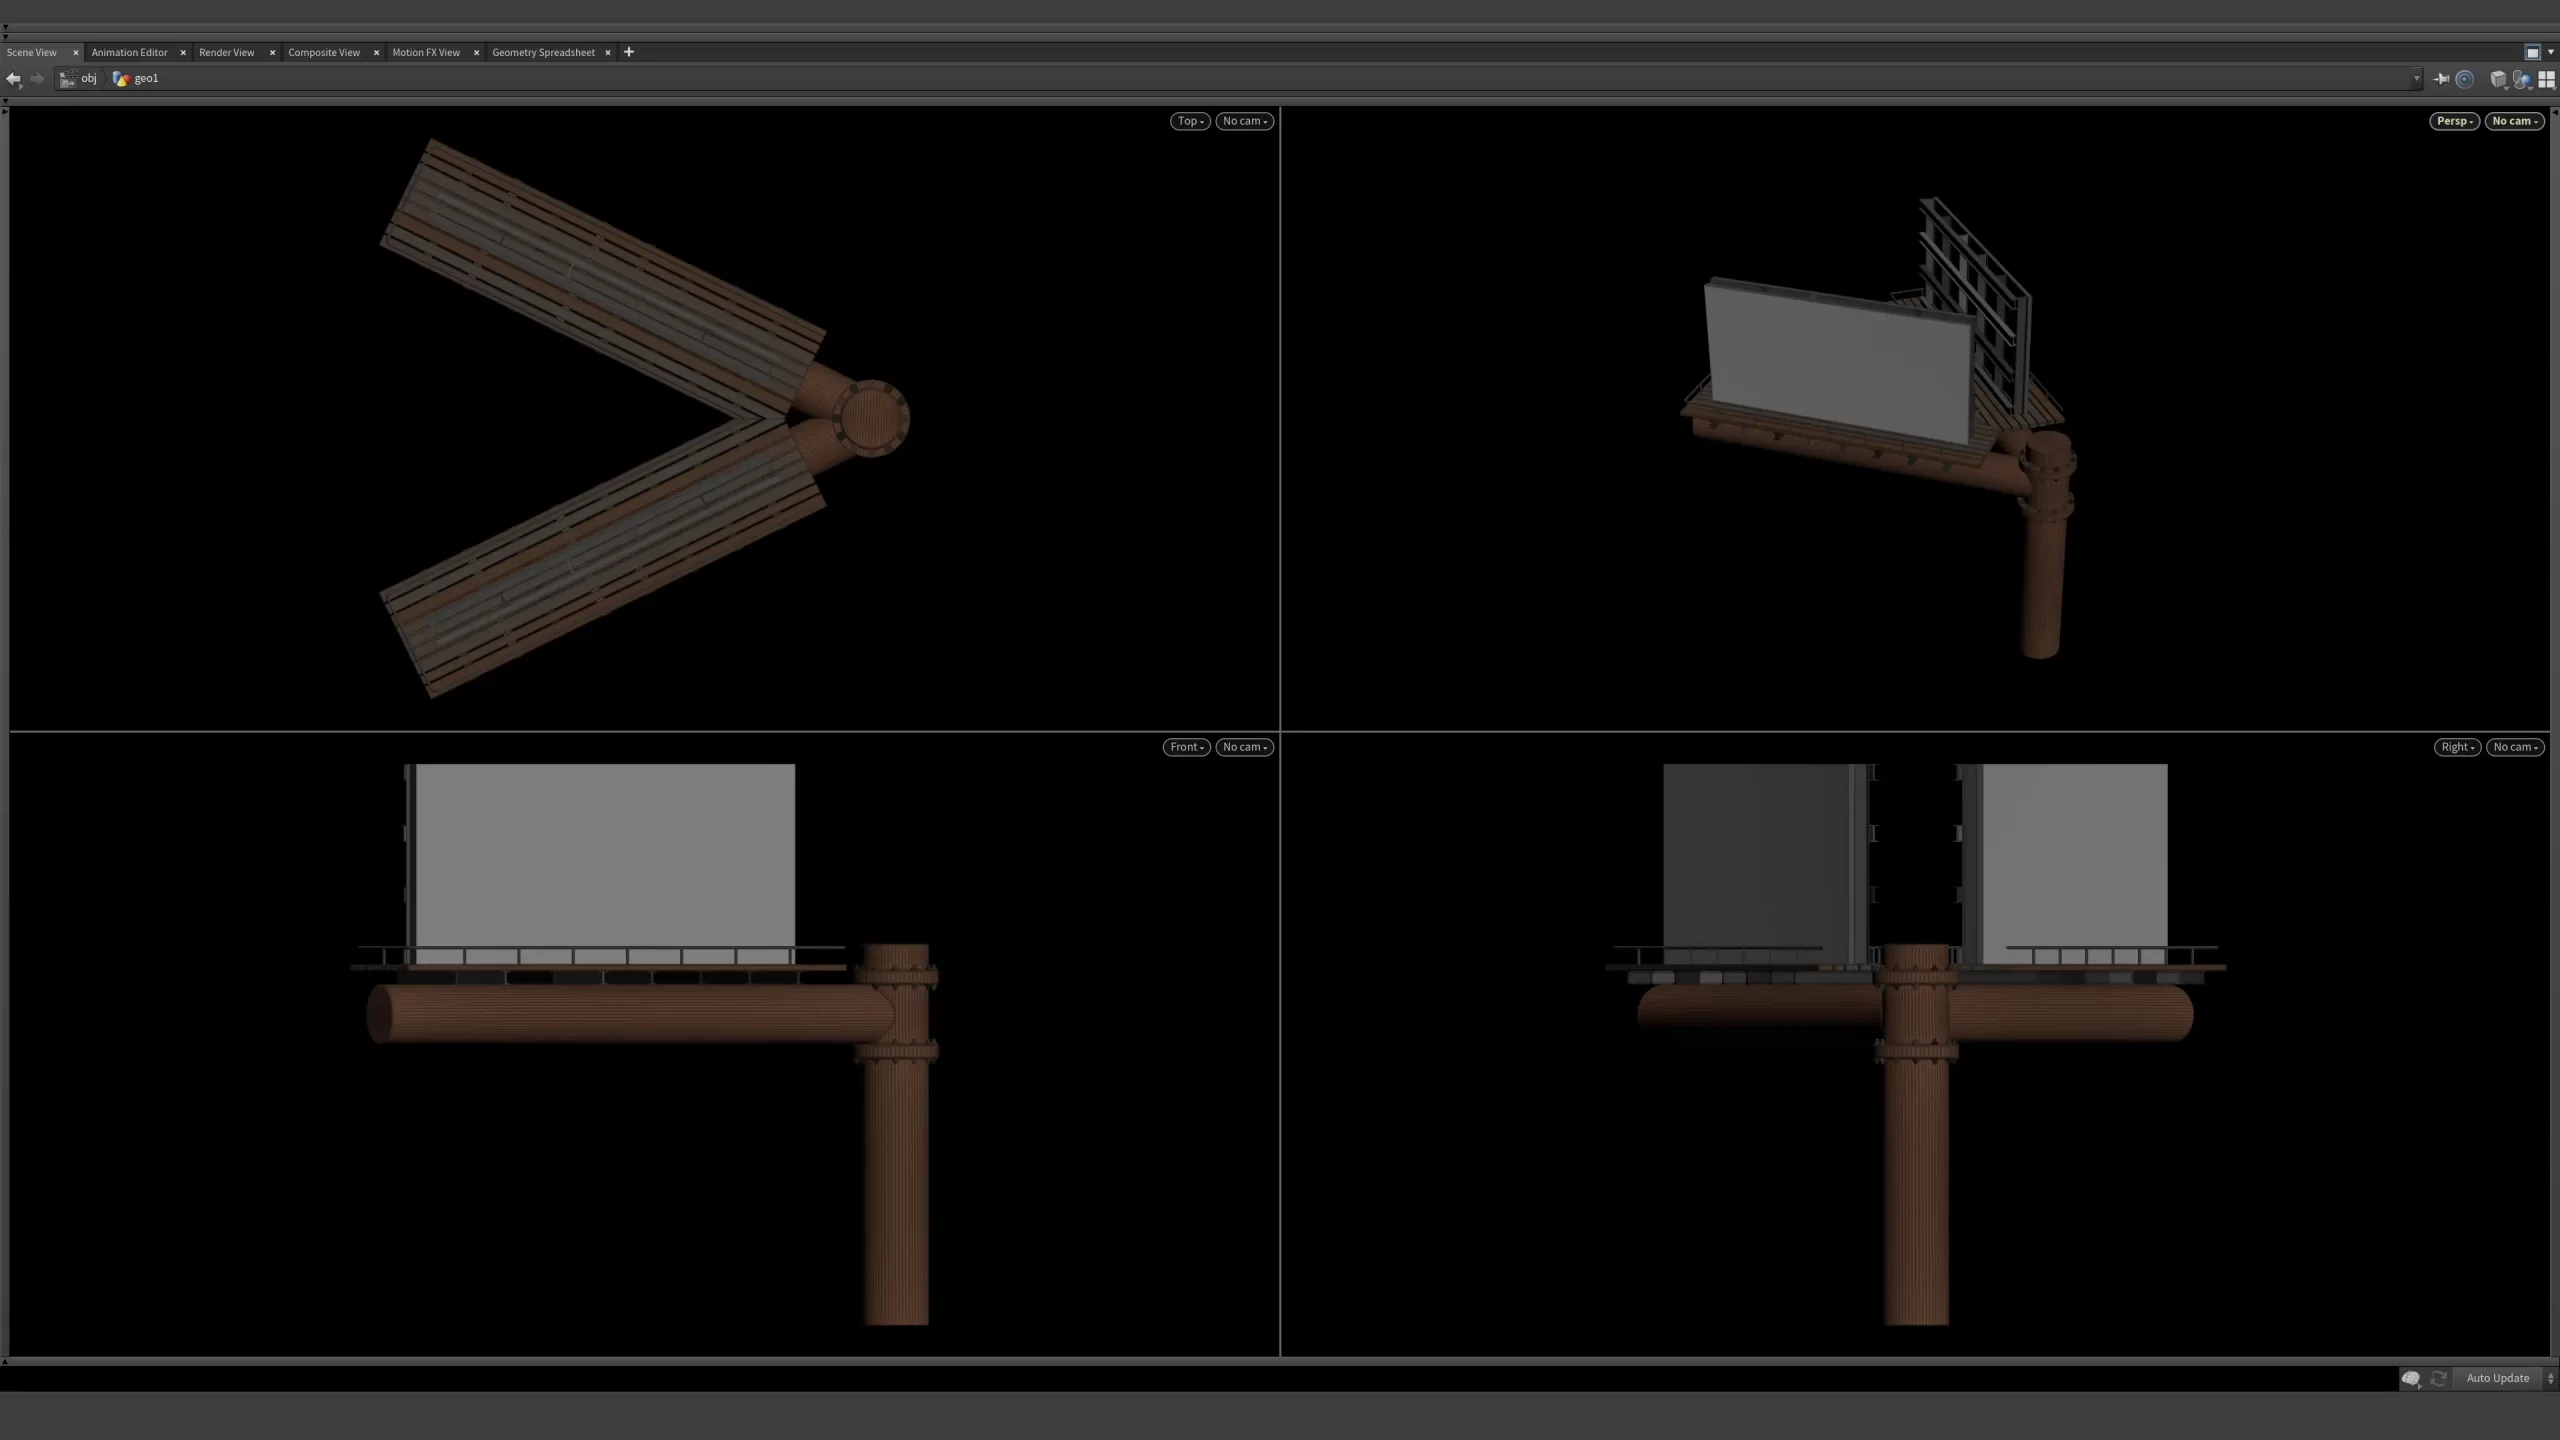
Create 3D Procedural Billboards of any shape or size. This course will teach you how to create a Houdini Digital Asset for building procedural billboards. Billboards are a great way to introduce hard surface procedural 3d modeling with Houdini.
Are you ready to unlock the true potential of procedural 3D modeling in Houdini? Join us on this journey where we explore the world of procedural 3D modeling using Houdini.
This Course Will Teach:
- When to use Polygons and when to use NURBS
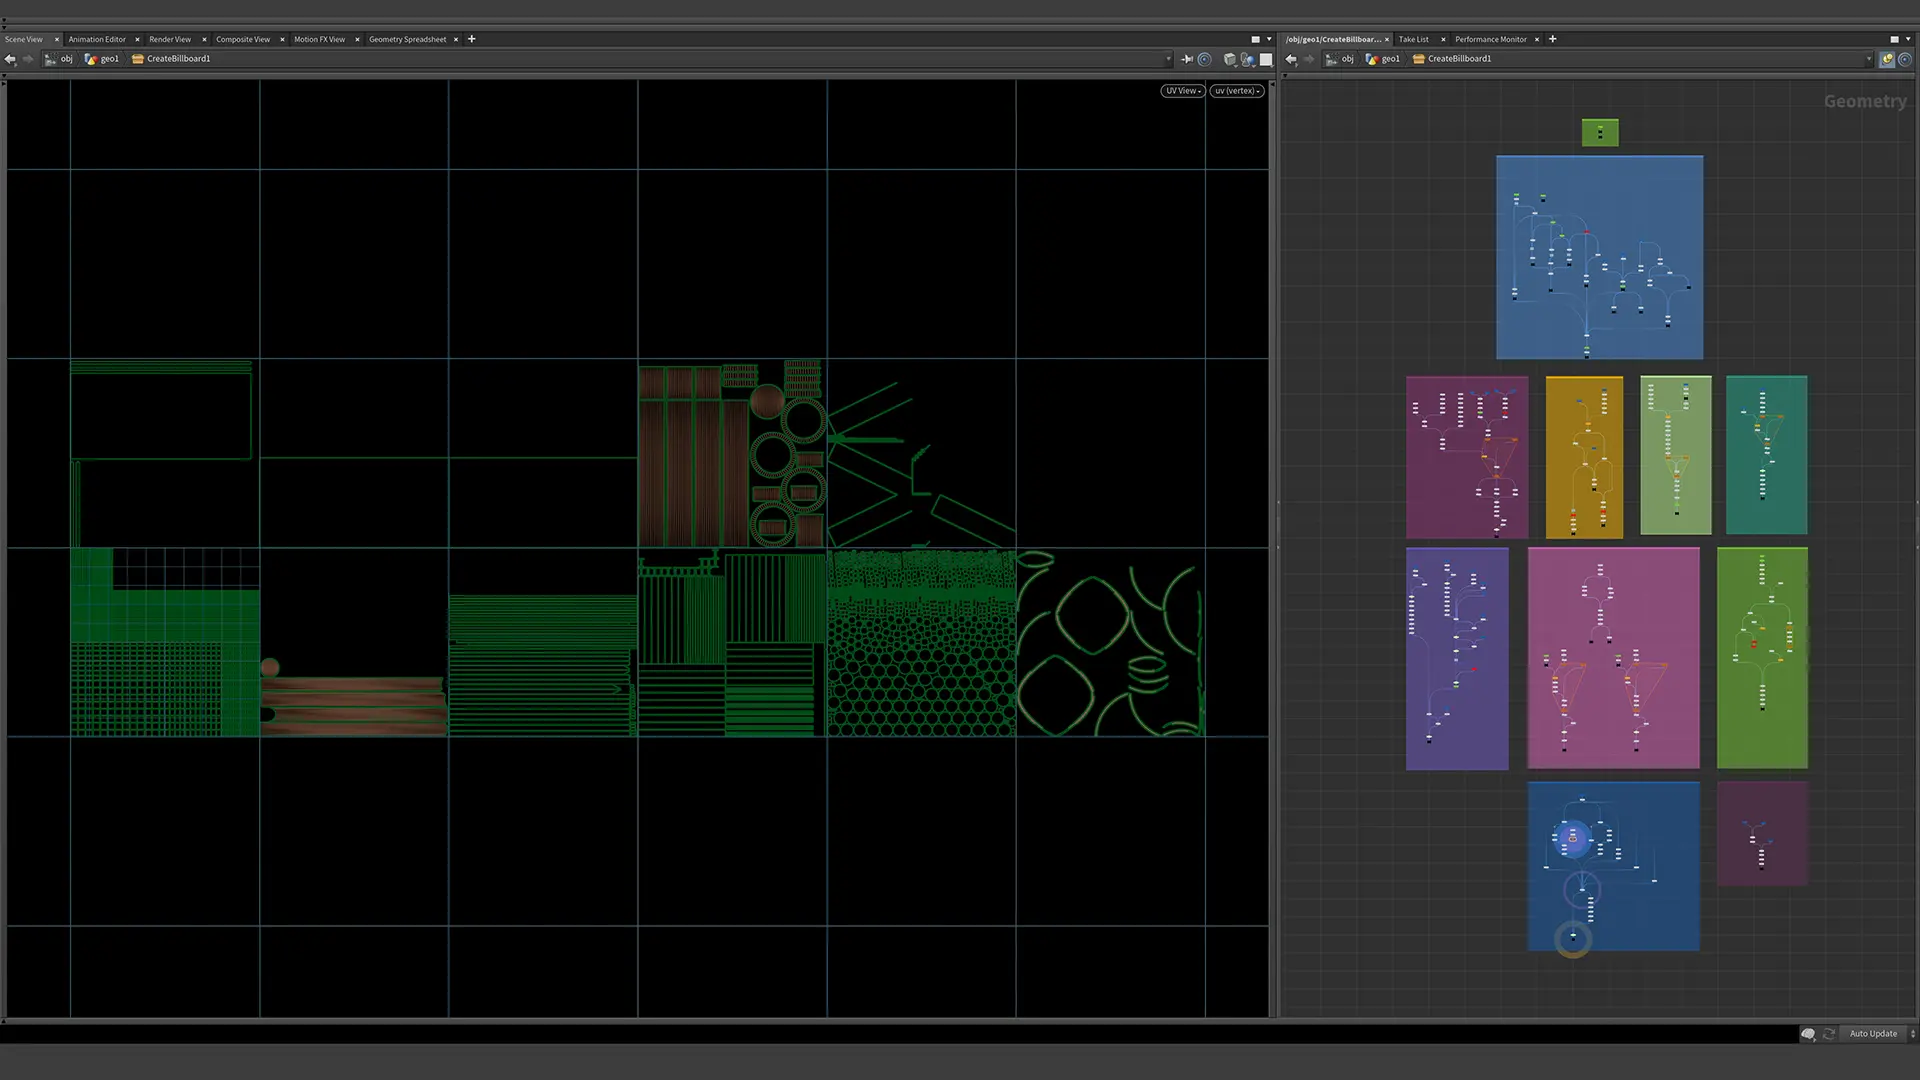
- How to procedurally create UV Maps and create U.D.I.M UV Layouts
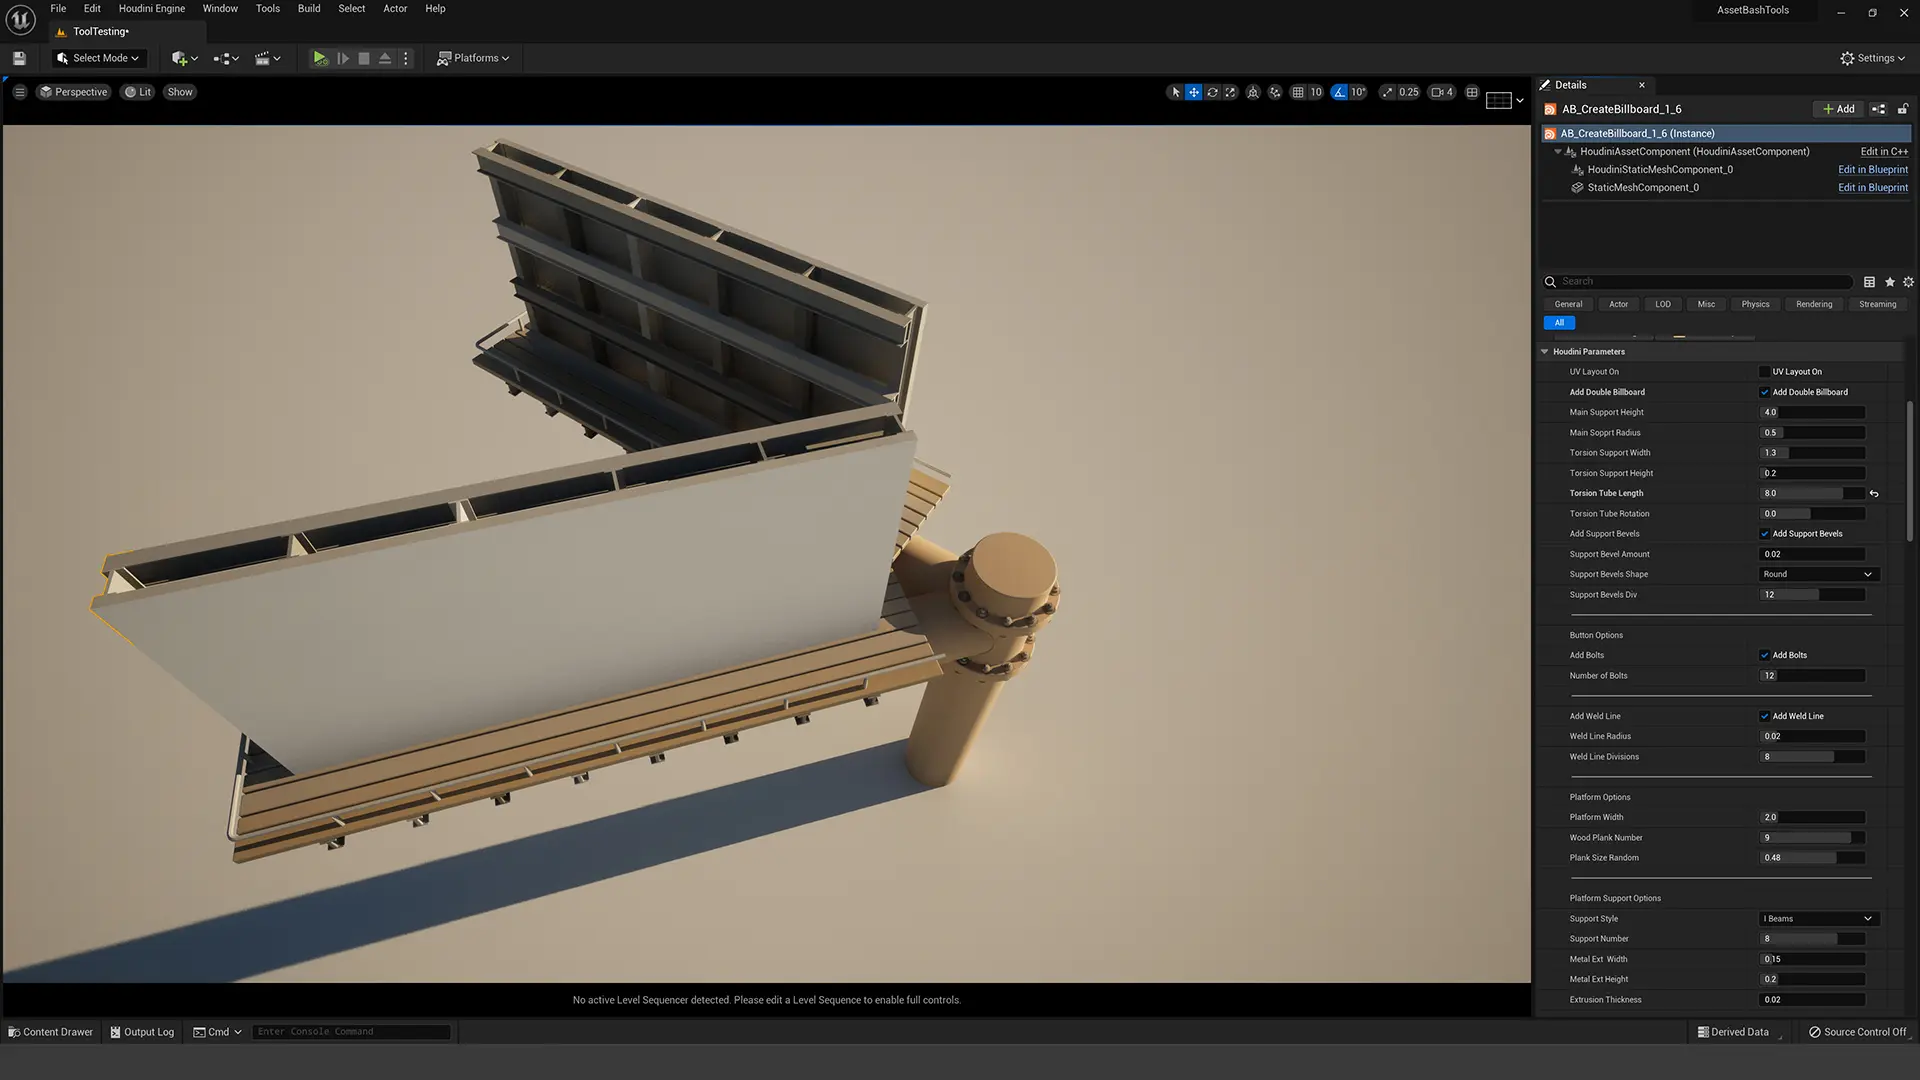
- How to correctly build Houdini Digital Assets for Unreal Engine or Unity
- What expressions and global variables are helpful for procedural modeling
- How to use the Add Sop for creating shape profiles
- Design interfaces with Edit Parameter Interface
Enroll In The Procedural 3D Modeling In Houdini Course Today!
Lesson 01
In lesson one, we build out a simple structure using both polygons and NURBS. By building the same object in both polygons and NURBS, we can see the benefits and drawbacks of polygons. We explore how with the proper use of NURBS we can build a more robust tool. We can extract curves with the Carve Sop and detail our models. NURBS can be misunderstood but offer a powerful way to create procedural 3D models. We then look at some quick instancing tests and bring the scene into Solaris.
Lesson 02
In lesson two, we begin with the NURBS model we started in lesson one. We show how by using a few simple expressions we can position objects so they adjust procedurally. We explore how we can use Point Normals and a Ray Sop to create weld lines. We can also use that same curve for perfecting skinning with the Skin Sop.
Lesson 03
In lesson three, we continue adding detail to our 3D model. We learn how to use a Carve Sop and a For Loop to add bolts to our structure. We then use a Bound Sop to establish the top platform our billboard will sit on top of. We then build the platform and show how we can randomize the look of the geometry.
Lesson 04
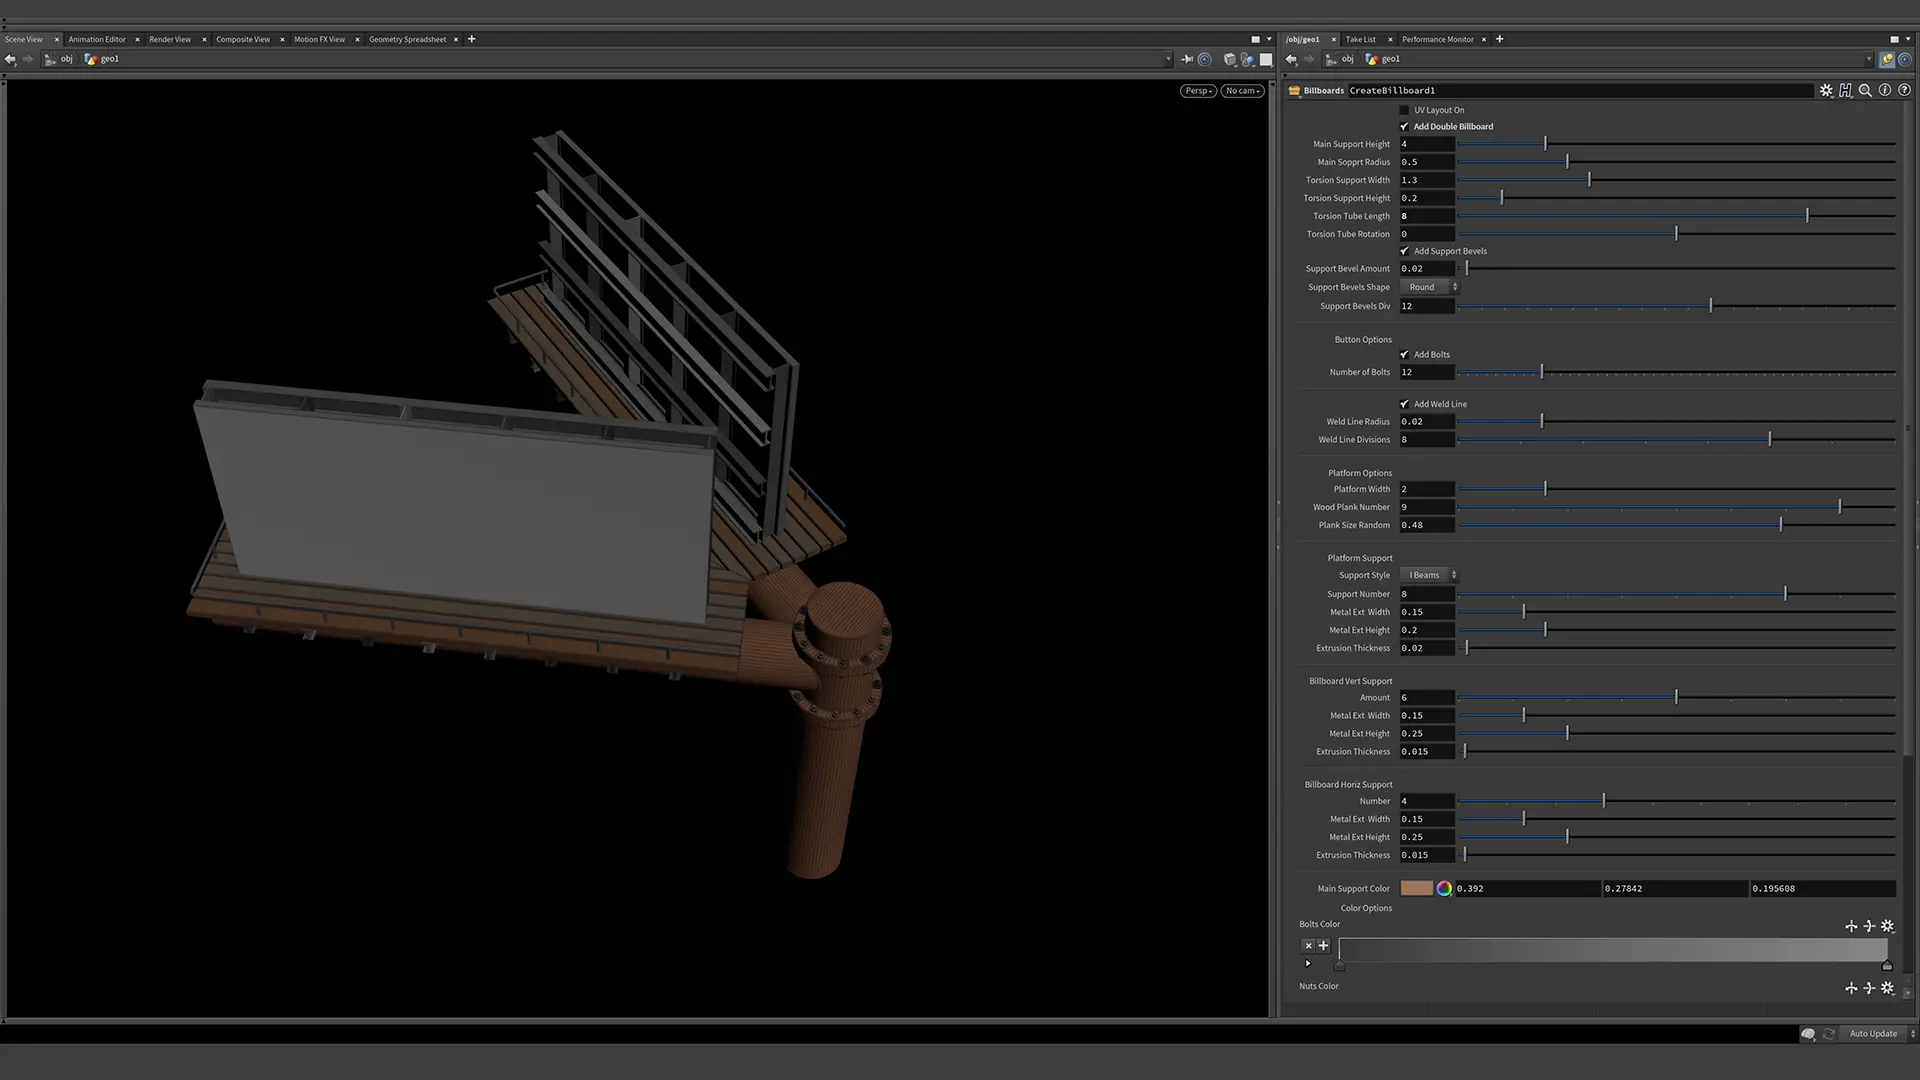
In lesson four, we learn how we can use the Add Sop to procedurally create curves. Using this technique we can create an I-Beam-shaped curve that will adjust with sliders. With a few simple expressions, we can create the understructure to support our platform. We begin to set up our interface to our Houdini Digital Asset.
Lesson 06
We learn how to import our scene into Solaris. Learn how we can use the Name Attribute to partition our geometry. Create materials using MaterialX, and the Standard PBR Surface. We then assign our materials and add area lights to create a basic lighting set-up. We then set up a camera.

Lesson 07
We learn how to import our scene into Solaris. Learn how we can use the Name Attribute to partition our geometry. Create materials using MaterialX, and the Standard PBR Surface. We then assign our materials and add area lights to create a basic lighting set-up. We then set up a camera.
Lessons
- Procedural 3D Modeling A Billboard Creator Houdini Digital Asset Lesson One
- Procedural 3D Modeling A Billboard Creator Houdini Digital Asset Lesson Two
- Procedural 3D Modeling A Billboard Creator Houdini Digital Asset Lesson Three
- Procedural 3D Modeling A Billboard Creator Houdini Digital Assets Lesson Four
- Procedural 3D Modeling A Billboard Creator Houdini Digital Assets Lesson Five
