All About UVs – How to Master UV Mapping in Houdini
As a University professor, I notice two things when it comes to teaching UV mapping. The first is that no one likes to have to make UV maps. The second is that most students are not aware of U.D.I.M UVs. This article will help new 3D artists understand UV Mapping strategies.
What are UVs and why do I need them?
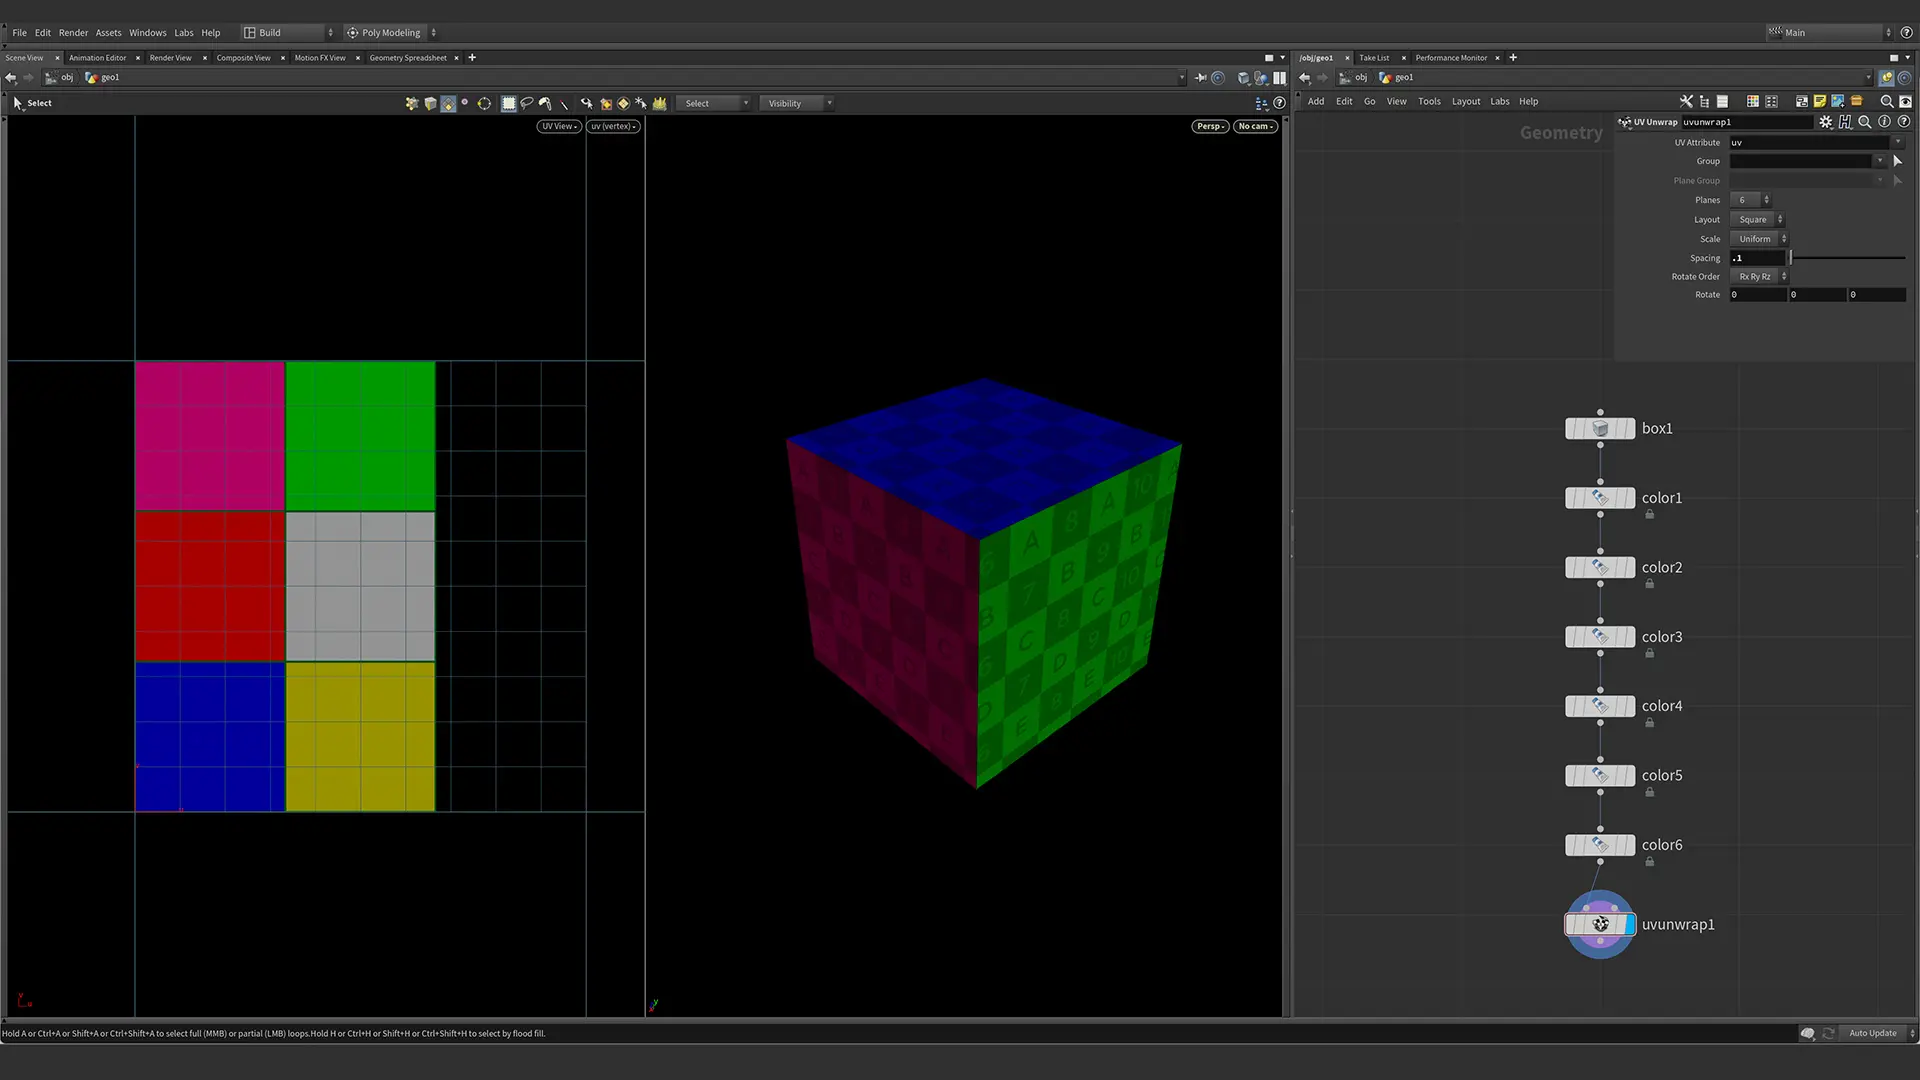
As a 3D artist, we need to have a solid understanding of UV Maps. The easiest way to think about what UVs are is that they are a flattened 2D version of our geometry. We need to have UVs if we want to apply custom texture maps that follow our geometry. The easiest way to create UV Maps is to use a UV Unwrap Sop in Houdini or Automatic Mapping in Maya. You can see the results in the pictures below.
Both UV Unwrap in Houdini and Automatic Mapping in Maya do the same thing. They place an imaginary box around the 3D model and then project the geometry to a side of the box.
This can result in UV distortion. You can see this in the images below. The box has perfect UVs and the Utah Teapot has distorted UVs.
What are UVs and why do I need them?
There are a few questions that I always ask a new Houdini student with a Maya background. “What if you never had to worry about making UV Maps?” I also ask “How often do you have to redo your “Automatic Mapping.” This is what Houdini allows us by having true proceduralism. With Houdini, all we have to do is have our UV Unwrap at the end of our network. This way if there is an update of the geometry, the UV Unwrap node will update. For any geometry changes in Maya, one would have to the automatic UV mapping. While this is simple and only takes a few seconds, those seconds add up. I call this a quality-of-life issue.
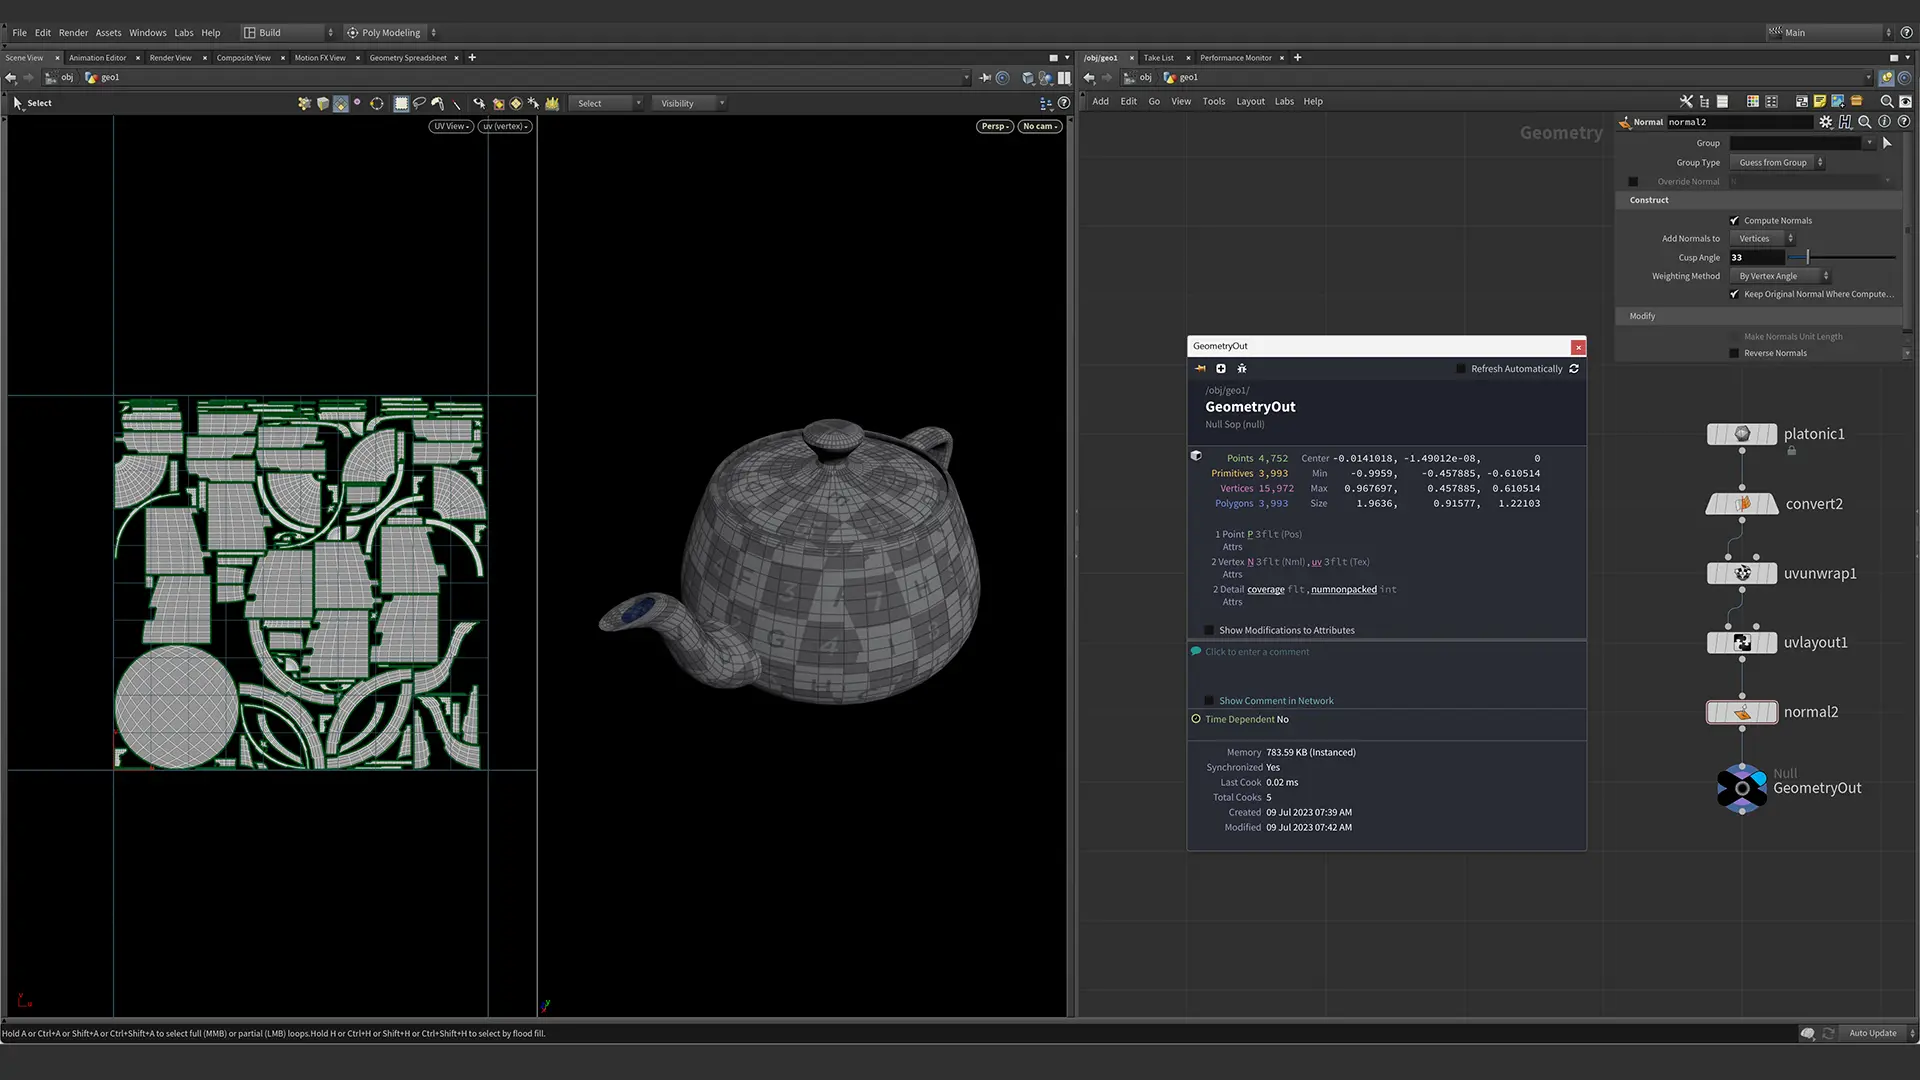
In Houdini, it is common to have your UV Unwrap, and a UV Layout node at the end of our node network. In the picture below I have added a UV Layout and a Normal Sop. The Normal Sop is for surface shading and tells the render engine how smooth the surface is. If you don’t know what Normals are, look at my tutorial on Normals in Houdini.

Nodes for creating UVs and UV Mapping in Houdini
Houdini has several nodes for creating UV Maps. UV Unwrap with UV Layout Sop is the most common node for UV Mapping. Sometimes we need to use something more specialized.
UV Texture Sop
The UV Texture Sop and the UV Project Sop are very similar but have one major difference. Both the UV Texture Sop and the UV Project Sop can orthographically project UVs. Usually, this will be down one of the Cartesian Axis, X, Y, or Z. UV Texture will perform this automatically, but UV Project has to be “Initialized.” Meaning you have to hit a button every time. Forget it. Use
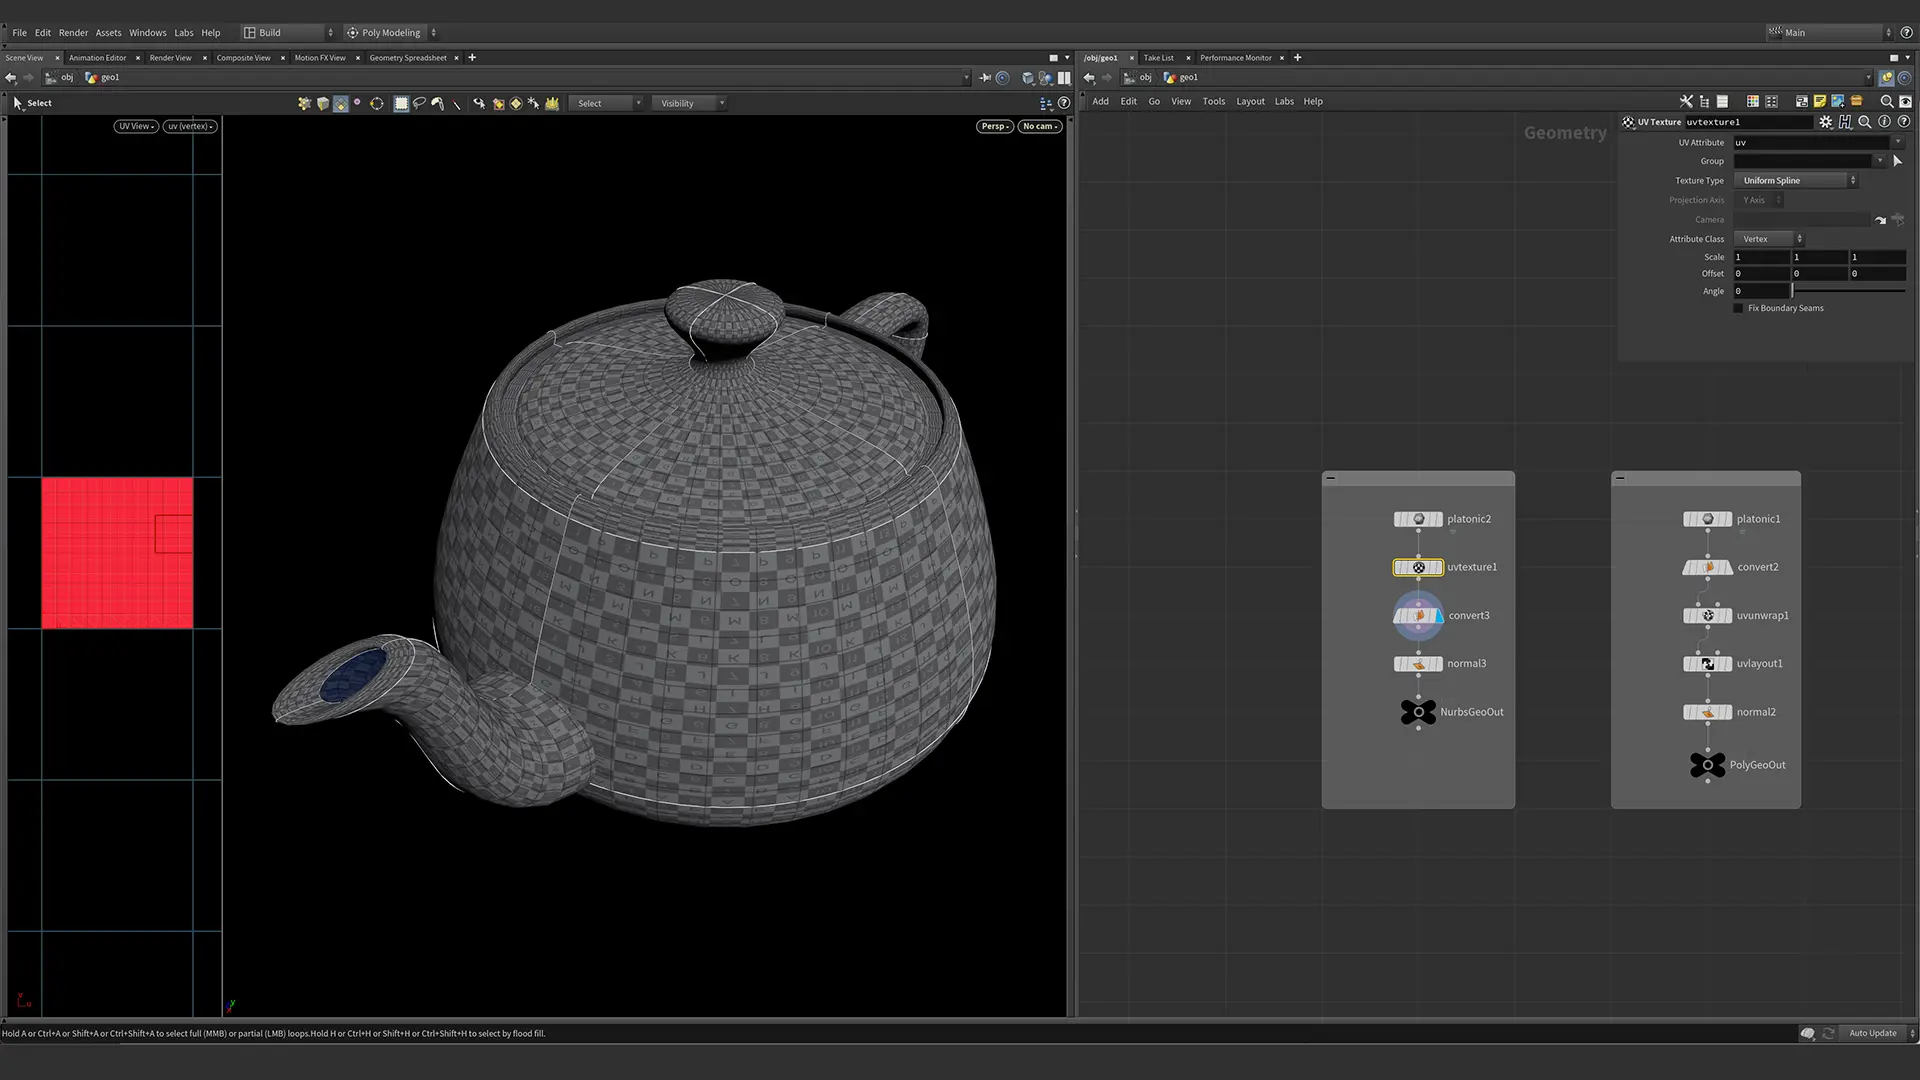
Besides UV Orthographic Projection, UV Texture has several other options. Below, let’s look at the same teapot that we applied the UV Unwrap node to. I used the Utah Teapot for two reasons. One it has an organic shape. Two, it is a bezier (NURBS) surface. Bezier or Nurbs have mathematically defined geometry. Their UVs are always square and are always in the 0-1 Uv Space.

In the example above, we are using the UV projection method named “Rows and Columns”. This is primarily for NURBS surfaces and Curves.
- Polar – For wrapping spheres
- Cylindrical – cylindrical mapped
- Face – UVs matched per polygon
- Uniform Spline – For curves with even-length segments
- Average Spline – Distributes the UVs along the curve as an average
- Arc Length Spline – Measures the distance between non-uniform points that define a NURBS Curve
- Perspective From Camera – This will project UVs from a camera that you select. This technique is for Matte Painting techniques. This is also called Camera Mapping.
UV Flatten
UV Flatten will attempt to unfold your geometry. This used to be the UV Pelt node but that has been depreciated. The idea is simple, take a piece of geometry and create seams by selecting edges and grouping them. This will define how the UV Flatten will attempt to unwrap the geometry. This node will also minimize UV Distortion. This is perfect for geometry like faces or clothing. This is not procedural and usually requires artists to create seams. There are ways of procedurally creating edge groups, but this is not 100% always reliable.
Multiple UV Channels
Our geometry can have multiple UV Channels. Maya calls these UV Sets. In Houdini, you would name the UV Channel with whatever UV Sop you are using. The first UV Channel will be uv, and the next one will be uv1, then uv2, etc.
How Do I Use U.D.I.M Texture Mapping?
A UV Map is a single square that is 0-1. That would be UV Tile 0. If we move over one square, that becomes UV Tile 1. This is the second tile, but remember we start at 0. We can do this 10 times down the X-Axis, and 10 times up the Y-Axis. This allows for a total of 100 textures per U.D.I.M object. If we want to texture an object in Substance Painter and we don’t want a single 4K texture map, then we will have to U.D.I.M.

