Lighting and Rendering in Solaris with Houdini
An Ongoing Course on Lighting, Rendering, and Material Creation with Houdini.
Start Learning TodayExplore Lighting and Rendering in Solaris with Houdini
Explore Lighting and Rendering in Solaris with Houdini
This is an ongoing course on lighting, rendering, and material creation. Inspired by the beautiful simplicity of the designs of Dieter Rams. There is much to learn from the simplicity of his designs. When working with Houdini our node network should reflect this philosophy. Nothing that is not needed. Simple, clean, and easy to read.
Often when creating complex 3D procedural models we need to edit like writers. Sometimes we realize we can refine our network, and simplify it.
01
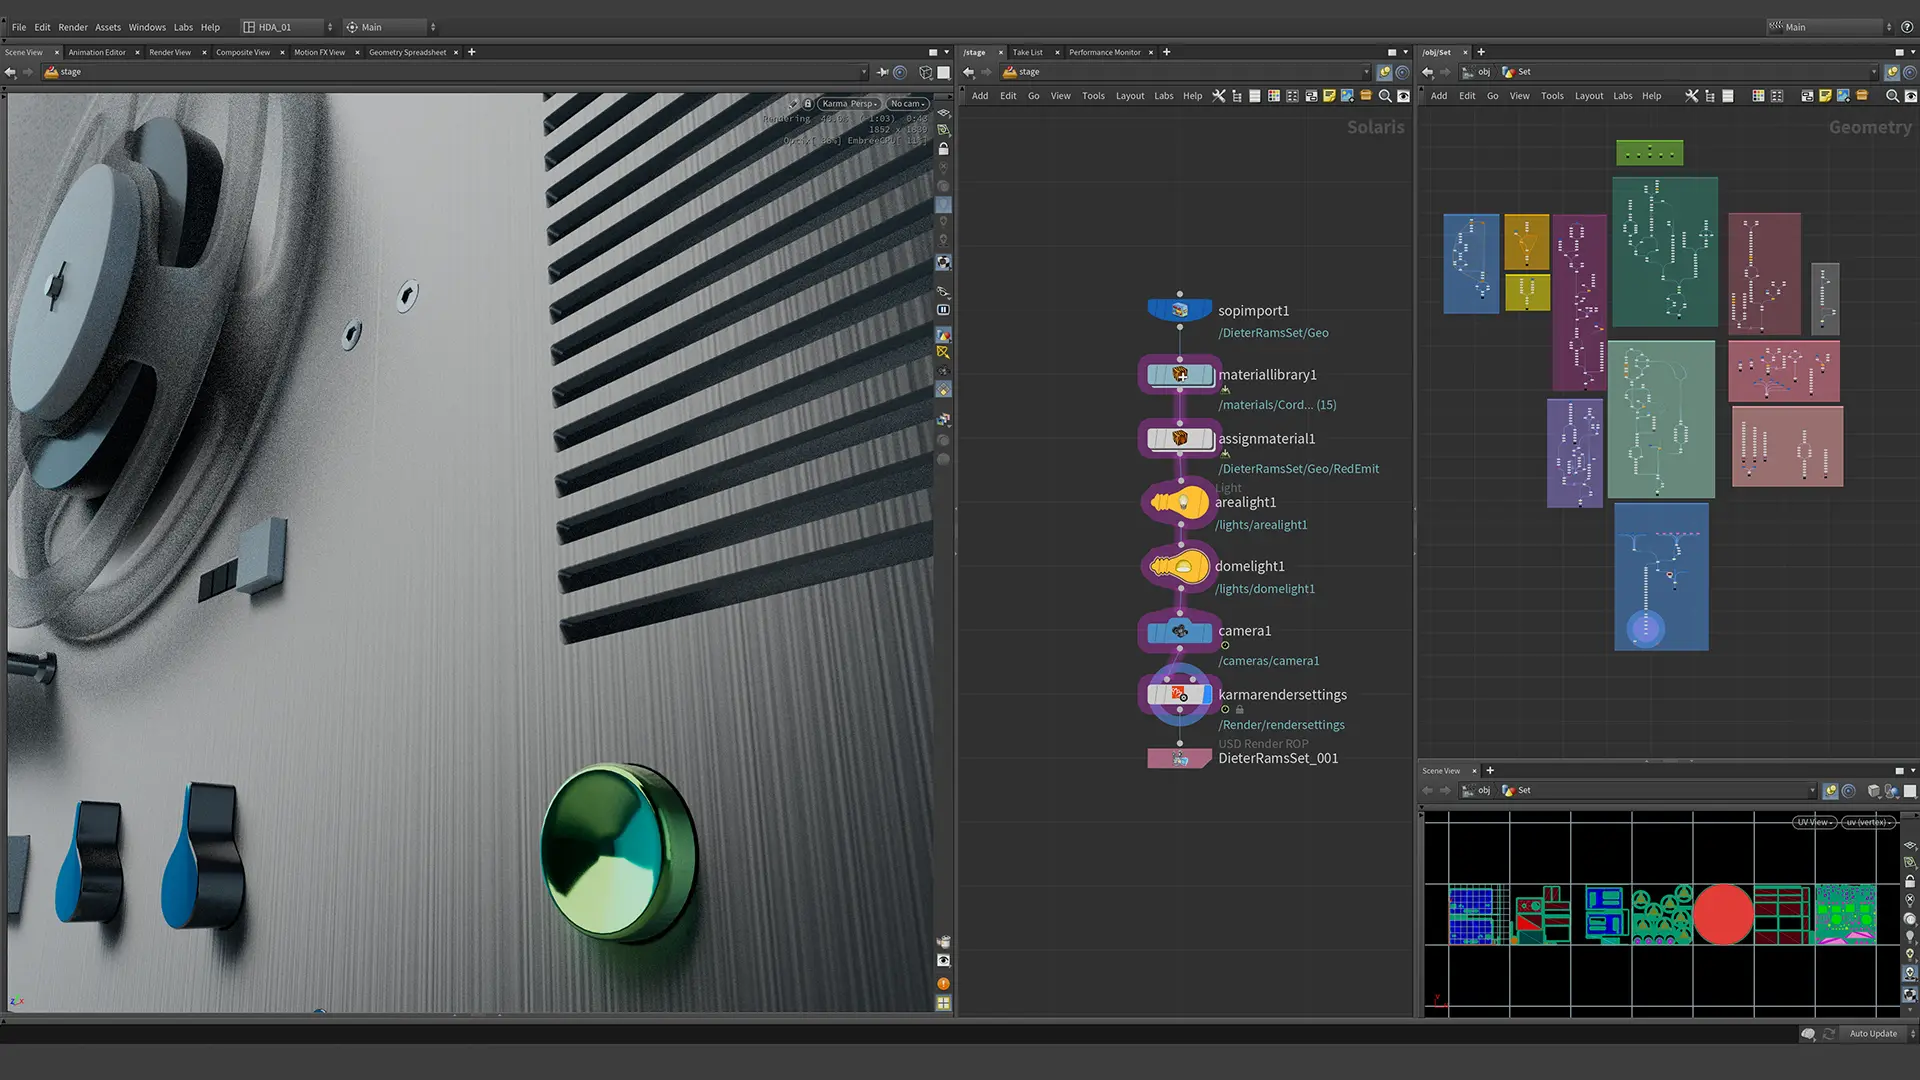
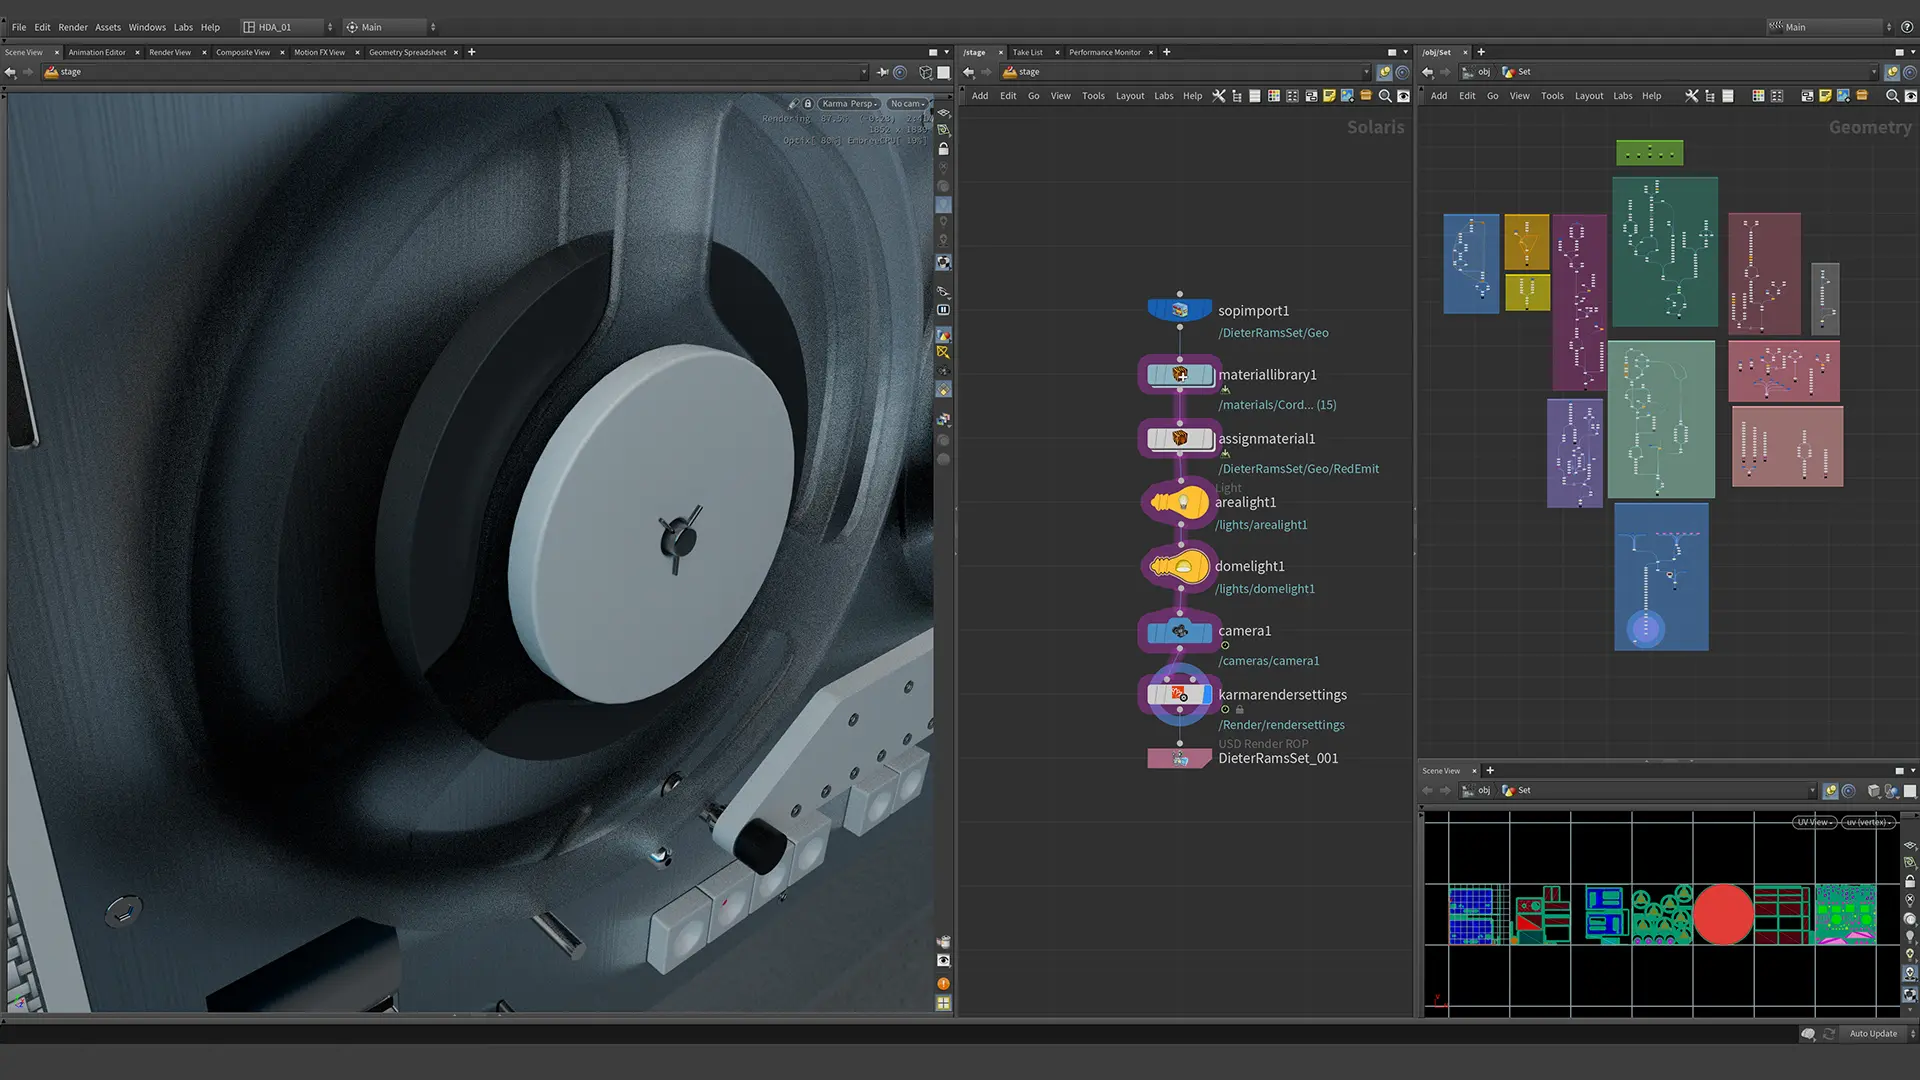
In lesson one we learn how to import our scene into Solaris. Learn how we can use the Name Attribute to partition our geometry. Create materials using MaterialX, and the Standard PBR Surface. We then assign our materials and add area lights to create a basic lighting set-up. We then set up a camera and look at Depth of Field.
03
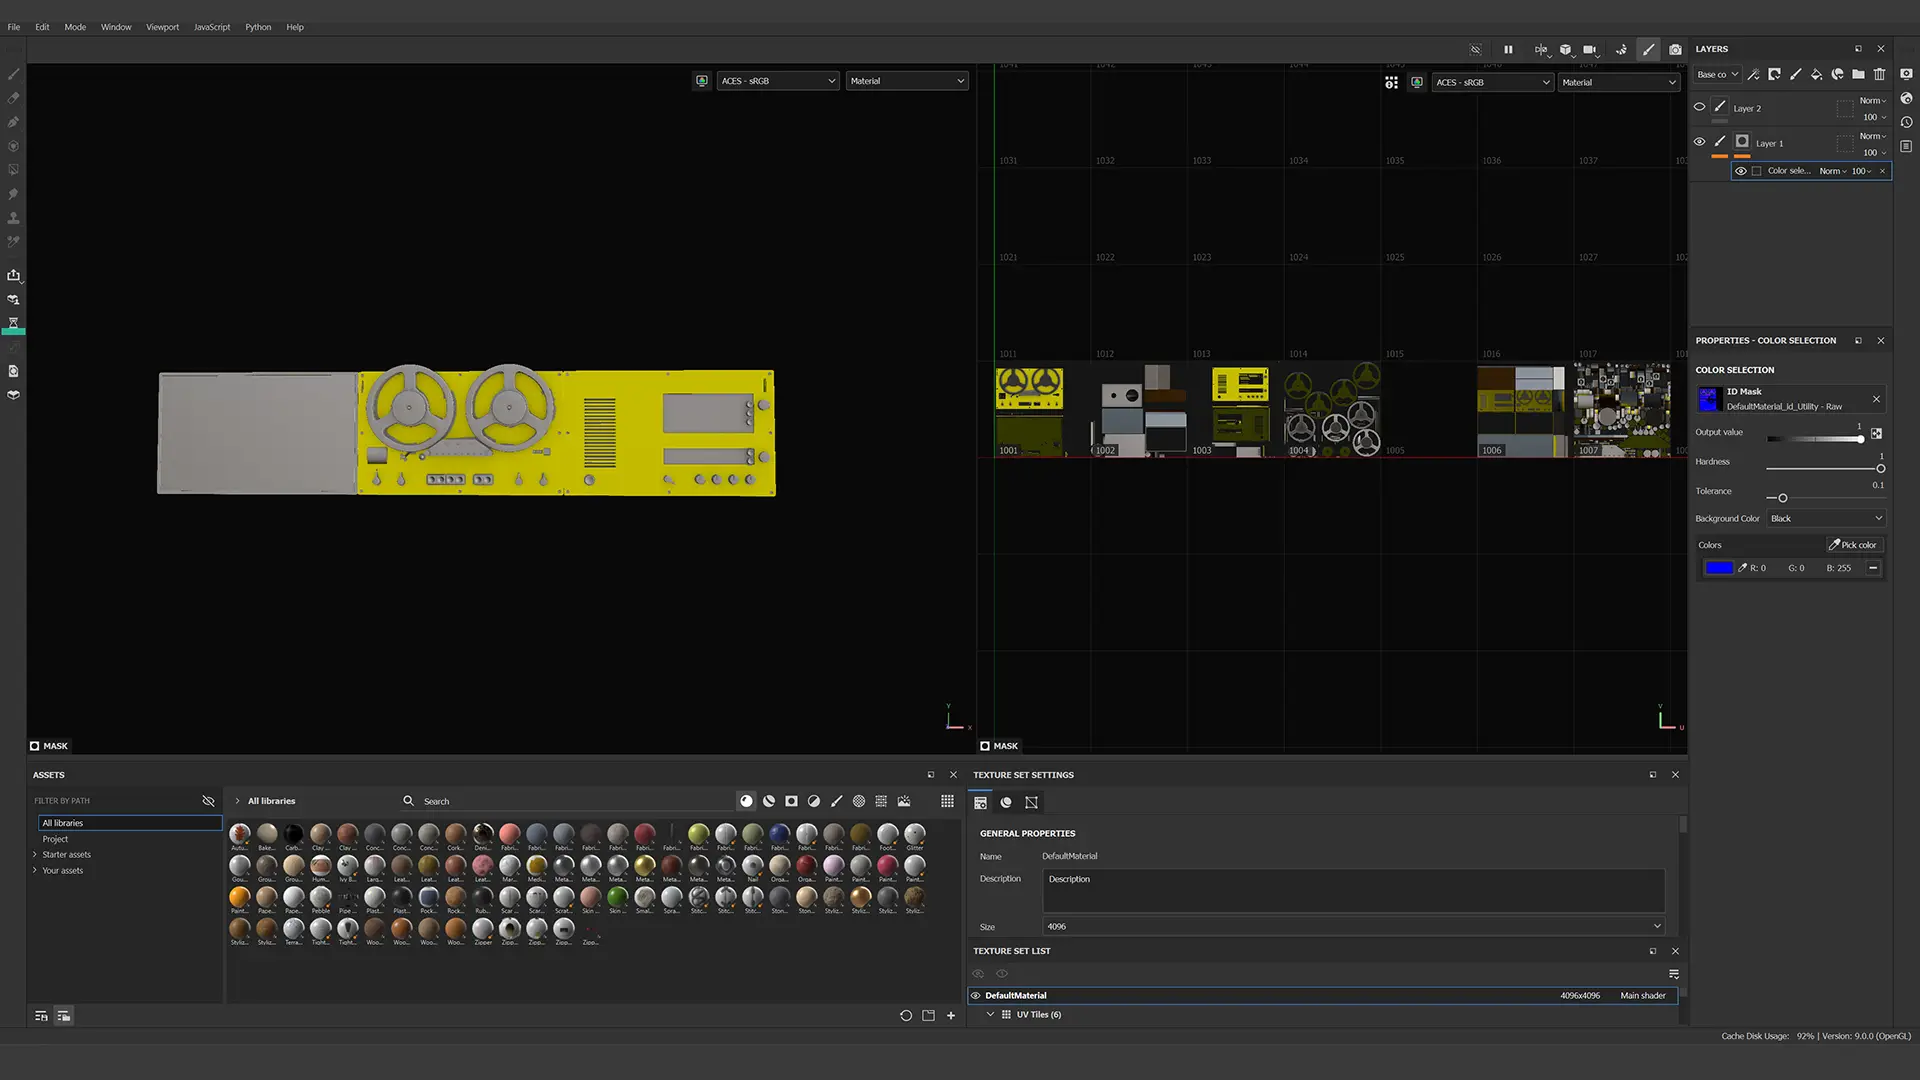
In lesson three we go back to the geometry and prepare it for final texturing in Substance Painter. We set up a U.D.I.M style of UV Layout. We export the geometry as .fbx and do our final quality control. By exporting our geometry and importing it we can troubleshoot any problems that might arise. After iterating until we have the final geometry. We learn how to bake our base texture maps in Substance Painter.
Explore Rendering in Solaris with Houdini
Lessons
- 3D Procedural Modeling and Rendering in Houdini Solaris Inspired by Dieter Rams - Lesson One
- 3D Procedural Modeling and Rendering in Houdini Solaris Inspired by Dieter Rams - Lesson Two
- 3D Procedural Modeling and Rendering in Houdini Solaris Inspired by Dieter Rams - Lesson Three


